The magic of a pleated skirt lies in its timeless appeal and versatility. It effortlessly transitions from casual to chic, depending on how you style it. Whether you pair it with a simple blouse for an everyday look or dress it up for a special occasion, this versatile piece will become your go-to wardrobe essential.
**Why You Should Dive into Pleated Skirt Sewing:**
There’s something incredibly satisfying about sewing your own clothing. It allows you to unleash your creativity and customize a garment to fit your exact style and body shape. Plus, there’s a unique sense of accomplishment that comes from creating something with your own hands.
**Choosing the Right Fabric for Your Project:**
Fabric selection is key! For beginners, lightweight fabrics like cotton or linen are ideal. These easy-to-work-with materials won’t overwhelm you and offer excellent drape, crucial for achieving that coveted pleated effect.
* **Cotton:** A classic choice known for its breathability and versatility. It comes in a vast array of colors and patterns, allowing for endless styling possibilities. * **Linen:** For a more sophisticated look, linen brings a touch of luxury and elegance to your skirt. Its natural texture adds visual interest, making it perfect for day or evening wear. **Crafting Your Free Pleated Skirt Pattern: A Step-by-Step Guide:**
The beauty of this free pleated skirt pattern lies in its simplicity. We’re going to break down the process into manageable steps, ensuring a smooth and enjoyable experience.
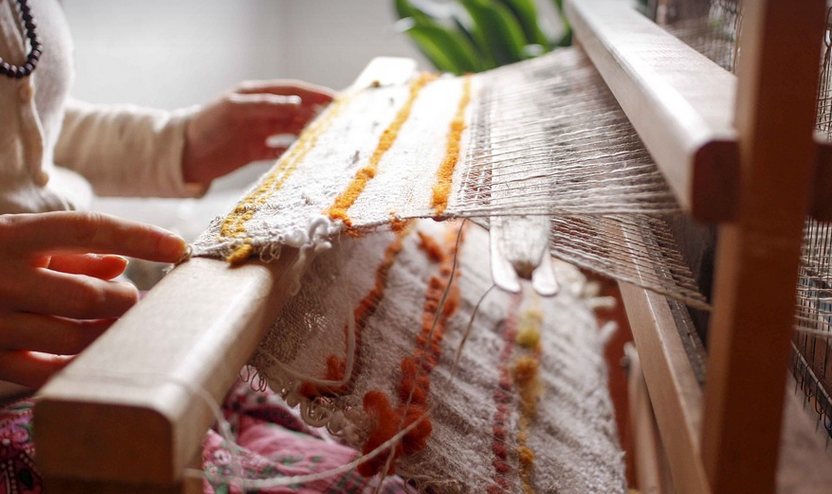
1. **Take Measurements:** Start by measuring your waist, hips, and desired skirt length. This will help you determine the size and style of your pleated skirt. 2. **Gather Your Supplies:** You’ll need fabric, seam ripper, sewing machine with a zigzag stitch, thread, pins, scissors, ruler, chalk or fabric marker, elastic (for waistband), and an iron. 3. **Drafting Your Pattern:** You can either draft your own pattern from scratch or use pre-existing patterns as inspiration. For beginners, we recommend starting with a simple rectangle shape and gradually add pleats as you gain confidence.
4. **Cutting the Fabric:** Carefully cut out the fabric pieces according to your chosen pattern. Remember to account for seam allowances and any additional shaping details you’ve incorporated. **Mastering the Pleating Technique:**
The key to a stunning pleated skirt lies in perfecting the pleating technique. Don’t worry, it’s easier than it looks! Start by folding a panel of fabric into a neat crease down the center. Then, gently gather the bottom edge of the folds and stitch them together. This creates a unique pattern that adds dimension and volume to your skirt.
5. **Attaching the Waistband:** Adding a waistband is essential for creating a perfectly fitted silhouette. Sew elastic into a casing at the waistline, allowing you to adjust the fit as needed. **Finishing Touches:**
Once the basic structure is complete, it’s time to add finishing touches! This includes hemming the skirt edges and adding decorative details like buttons or embroidery if desired.
**A World of Style Possibilities:**
Now that your free pleated skirt pattern is complete, you have the freedom to experiment with different fabrics, colors, and styles. This versatile garment can be transformed into everything from a bohemian-chic evening look to an effortlessly chic everyday outfit.
**Where to Find More Inspiration:**
The world of sewing is vast! Explore online resources like YouTube tutorials and Pinterest boards for further inspiration and tips on pleated skirts. Don’t hesitate to experiment with different styles and fabrics until you find what truly resonates with your personal style.
**Final Thoughts**:
Creating a free pleated skirt pattern is an empowering experience. It connects you with the joy of making and empowers you to express your unique fashion sense. So grab your fabric, gather your supplies, and embark on this sewing adventure!