Unlock the Secrets of Your Dreamy Sleep Cap
Ready to ditch the scratchy hats and embrace a new level of sleep comfort? We’re diving deep into the world of DIY sleep caps with sewing patterns that are both stylish and practical. Whether you’re battling dry air, dealing with frizzy hair, or simply seeking a little extra warmth on chilly nights, these patterns offer personalized solutions for every sleeper.
Sleeping caps offer a unique blend of function and fashion, allowing you to personalize your sleep experience. Imagine slipping into a cozy cap that not only protects your head from the elements but also complements your personal style! Sewing patterns for sleep caps empower you to create something truly yours, transforming nights from routine to a haven of relaxation.
The beauty of sewing patterns lies in their versatility. They’re not just about following instructions; they are about expressing creativity and tailoring sleep comfort to your unique needs. You can choose from classic beanie-style caps, elegant turbans, or even playful ear coverings, all with the potential for a touch of individuality.
Before you dive into the world of sewing patterns, it’s essential to understand why designing your own sleep cap is so worthwhile:
* **Customization at its Finest:** Sleep caps tailored to your head shape and size offer unparalleled comfort. No more struggling with ill-fitting hats! You can even experiment with different materials to create a unique fabric experience.
Customizing for Specific Needs:
* **Sensitive Skin:** If you have sensitive skin, you’ll appreciate the ability to choose soft, breathable materials like cotton or bamboo. You can even consider adding hypoallergenic linings for extra comfort. * **Fine-Tune for Your Hair Type:** Do you struggle with tangles and frizz? A sleep cap specifically designed to hold your hair in place allows you to wake up with fewer knots and a smoother touch. This can be particularly helpful if you have naturally curly or frizzy hair.
Embracing Sustainability:
* **Reducing Waste:** Crafting your own sleep cap is a wonderful way to reduce reliance on mass-produced products and embrace a more sustainable lifestyle. By opting for natural materials and creating something yourself, you contribute to a circular economy that prioritizes quality over quantity.
A World of Inspiration:
There’s a world of inspiration out there waiting for your own creativity! Online resources like YouTube channels, sewing communities, and blog posts offer endless guidance on creating sleep caps. You can find patterns tailored to various skill levels, from beginner-friendly designs to more complex projects.
With an array of patterns readily available, you’re sure to find one that aligns with your style and skillset. For beginners, simple beanie patterns will provide a gateway into the world of sewing. For those seeking a challenge, elaborate designs featuring intricate patterns and embellishments await.
Now that you understand why creating your own sleep cap is such a rewarding experience, let’s dive deeper into the process itself.
Start with the Foundation: Choosing Your Pattern
Selecting the right pattern is crucial for success. Consider these factors:
* **Skill Level:** Choose patterns that match your current sewing skills. If you’re a complete beginner, stick to simple designs with minimal seams and straight lines.
Pattern Choices:
* **Classic Beanie:** This timeless design is a perfect start for those new to sewing. It features only basic shapes and construction techniques, making it an accessible entry point into the world of DIY. * **Turban Style:** For a more unique look, consider exploring turban-style patterns. These offer a variety of creative options and can be customized with different colors, embellishments, and trims.
Pattern Resources:
* **Online Retailers:** Many online platforms specialize in selling sewing patterns. These platforms often have user-friendly interfaces with detailed instructions and clear diagrams. * **Sewing Stores:** Local sewing stores can be a valuable resource, offering personalized guidance from experienced staff members who can help you understand your pattern selection.
Pattern Types:
* **Free Patterns:** You can find countless free patterns online. However, these may require an extra bit of research to ensure they have clear instructions and suitable for your skill level. * **Paid Patterns:** Paid sewing patterns are often professionally designed with detailed instructions, high-quality diagrams, and additional extras like fabric recommendations.
Gather Your Supplies: Essential Tools and Materials
Before you dive into the world of stitching, make sure you’ve gathered your supplies. The following materials will help you on your journey to crafting a dream sleep cap:
* **Sewing Machine:** This is crucial for creating accurate seams and ensuring smooth finishes. Choose a machine that matches your comfort level and sewing needs. * **Bobbins:** These small components hold the thread used by your sewing machine, so you’ll need to stock up on bobbins before you begin.
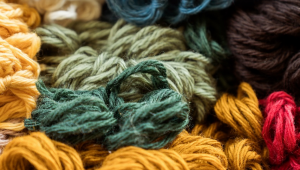
* **Thread:** Ensure you have various threads in different colors and textures. This gives your sleep cap a unique look. Thread is essential for completing seams
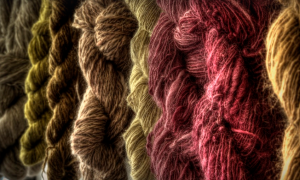
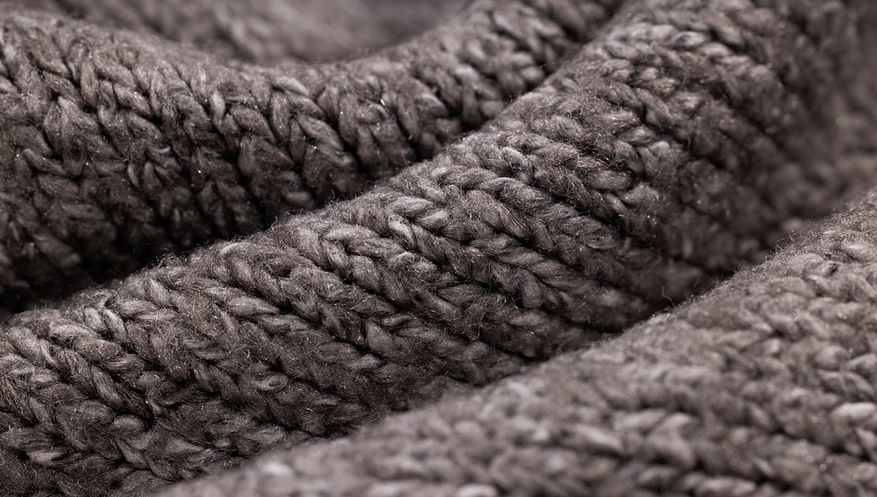
* **Fabric:** The fabric of choice will depend on the desired effect and personal comfort level. Consider breathable materials, like cotton or linen, to regulate body temperature.
* **Scissors:** Sharp scissors are crucial for clean cuts. A dedicated set of scissors specifically designed for fabric can help you prevent fraying.
Other Helpful Tools:
* **Seam Ripper:** This tool is a must-have for correcting mistakes and removing unwanted stitches. It’s crucial for maintaining precision and ensuring your sleep cap fits perfectly.
Practice Makes Perfect:
Before you begin working on your sleep cap project, take some time to practice basic sewing skills. Familiarize yourself with your sewing machine’s functions and start by practicing straight lines and seam sewing.
Embrace the Process:
Crafting your own sleep cap is an enjoyable creative experience, so take time to appreciate each step. Focus on enjoying the process of learning new skills, experimenting with fabrics and patterns, and creating something truly unique for yourself.
The Sewing Journey: A Step-by-Step Guide
Let’s explore a basic sleep cap sewing pattern with a focus on clarity. This example will provide a framework for your own project.
**Steps:**
1. **Pattern Layout: ** Unpack your chosen pattern, paying close attention to the size measurements and details of the construction process.
2. **Fabric Selection: ** Choose a fabric that complements your desired style. Consider the weight and texture for a comfortable sleeping experience.
3. **Cutting & Assembling: ** Carefully cut out all the fabric pieces according to the pattern’s instructions, ensuring accurate measurements for a perfect fit.
4. **Seaming:** Stitch your pieces together according to the pattern’s directions, paying attention to alignment and tension. This will help you create an aesthetically pleasing and functional sleep cap.
5. **Completing the Cap: ** Attach any embellishments like buttons or trim for a personal touch and enhance your cap’s appeal.
Enjoy Your Sleep Cap!
After completing your new sleep cap, you can indulge in the warm feeling of snuggling under it while enjoying a good night’s rest. The satisfaction of creating something yourself will be a wonderful reward for all your effort! Enjoy the cozy comfort and the peace of mind that comes with having created something truly unique.