Understanding the Basics of Binding
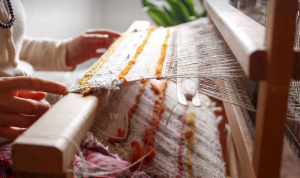
So, you’ve decided to dive into the wonderful world of sewing machine bindings! This seemingly simple technique is a game-changer for finishing your projects. It adds that extra touch of professionalism and ensures your fabric stays together beautifully.
Think about it: you want your newly crafted quilt to stand out, or maybe you’re looking to make a chic scarf with a luxurious finish. Whatever the case may be, a well-executed binding sets the stage for a beautiful masterpiece.
Before we jump into the actual process of binding, let’s take a step back and understand why it matters. Imagine trying to sew together two pieces of fabric without adding a finishing touch. It might seem messy, right? That’s where bindings come in. They provide that extra layer of security, keeping your project intact and looking polished.
Why Sew Bindings
There are so many reasons why using binding is the perfect choice for many projects:
- **Durability**: It protects your seams from wear and tear, ensuring longevity for your garment or quilt.
- **Neatness and Professionalism**: It elevates the overall look of your project, creating a seamless and polished appearance.
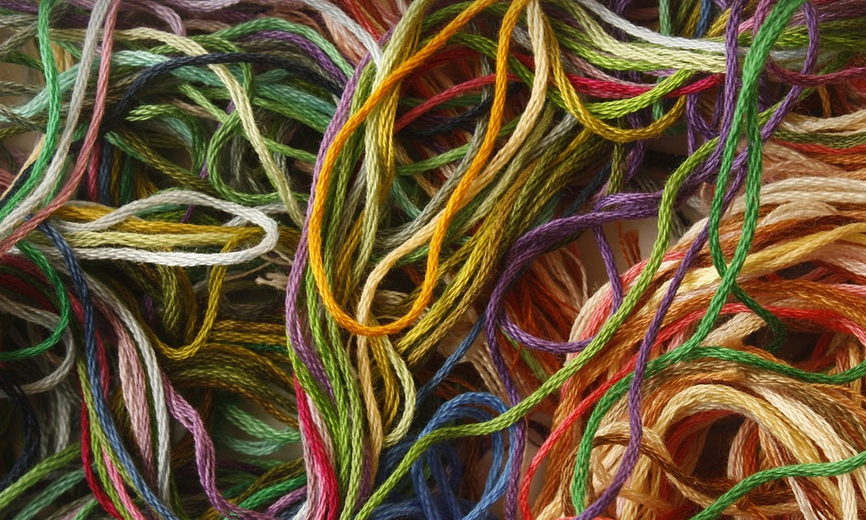
- **Customizability**: Binding comes in various widths and styles to match different projects and aesthetic preferences. You can choose from subtle prints or bold patterns depending on your desired outcome.
- **Ease of Use**: Sewing bindings is easier than you might think! With practice, anyone can master this technique.
Types of Binding: A Quick Overview
There are a few different ways to go about binding your fabric projects. Here’s a quick rundown of the most popular methods:
**1. Traditional Bias Binding:** This is perhaps the most common type, and it’s known for its elegant look and seamless finish. It involves sewing bias tape along the edges of your fabric project. The result? A beautifully curved binding that creates a professional-looking edge.
**2. Single Fold Binding:** This method offers a simple and efficient way to bind fabric projects. You simply fold the fabric you’re using over itself and then sew along the folded edges, leaving a clean, neat finish.
**3. Double Fold Binding:** For those seeking added durability, this binding method involves folding the fabric twice before sewing. It’s best for projects exposed to wear and tear, such as bags or quilts.
Choosing the Right Binding
When selecting a binding, consider these factors:
- **Project Type:** What you’re making will help guide your choice. A blanket might benefit from double-fold bias binding for extra strength, while a simple scarf would be fine with just a single fold.
- **Fabric Weight:** Heavier fabrics like denim call for stronger and thicker bindings. For lighter fabrics, thinner bindings can be used to achieve the desired look.
- **Aesthetic Preference:** From subtle patterns to bold graphics, there’s a binding style out there for every taste. Experiment with different options to find what suits your project best.
Sewing Machine Bindings: A Step-by-Step Guide
Now that we’ve covered the basics, let’s dive into the step-by-step process of sewing machine bindings:
- **Prepare Your Fabric:** Measure and cut your fabric. Make sure each piece is the right size for your project.
- **Cut Bias Tape or Fold the Fabric:** Depending on your chosen binding method, you’ll either cut bias tape to your desired width or fold fabric at an angle to create a neat edge.
- **Sew Your Binding:** Use a straight stitch on your sewing machine to sew your binding firmly in place along the edges of your fabric.
- **Pressing and Finishing:** To achieve a clean look, press the seam allowance flat with an iron before continuing with your project. This ensures that the binding is smooth and secure.
- **Enjoy Your Beautiful Project!**
Tips for Successful Bindings
Here are some helpful tips to help you create flawless bindings:
- **Ironing:** Always iron your fabric before starting, this will ensure that the binding lays flat and eliminates any bumps or wrinkles.
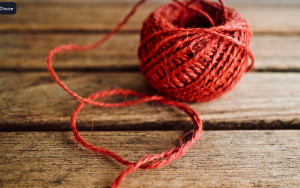
- **Thread Color:** Use a thread color that complements the fabric of your project.
- **Practice:** Don’t be afraid to practice! Sewing a simple binding can help you familiarize yourself with the process before tackling more complex projects.
Binding for Every Project
Binding is truly versatile, and it’s applied to countless projects: from quilts and blankets to bags, curtains, and even clothes. The possibilities are endless!
Experiment and find what works best for you. Binding adds a personal touch, allowing your creations to stand out. Enjoy the process of learning this essential sewing technique.