Beat the Chill with a DIY Project
Fall is in full swing, and with it comes that crisp, chilly air that demands our cozy wardrobe. But instead of succumbing to the temptation of overpriced sweaters from your favorite department store, why not embrace a project that’s both stylish and budget-friendly? Sewing a turtleneck for yourself is a rewarding experience that allows you to create something unique and personal while simultaneously staying warm and comfortable.
This year, ditch the expensive sweater racks and dive into the world of DIY fashion! We’re excited about sharing some free turtleneck sewing patterns designed to make your fall season effortlessly chic. From classic minimalist styles to trendy oversized designs, these patterns cater to all personalities and preferences. You’ll be surprised at how easy it is to create a wardrobe staple that reflects your individual style.
Why Choose a Free Turtleneck Pattern?
There are so many reasons why you should consider crafting your own turtleneck this season. Firstly, free patterns give you the flexibility and convenience of tailoring them to fit your body perfectly while saving money on store-bought options. This personal touch ensures that your turtleneck not only looks great but also feels like a perfect extension of yourself.
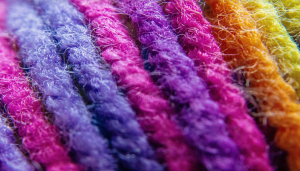
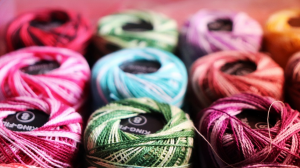
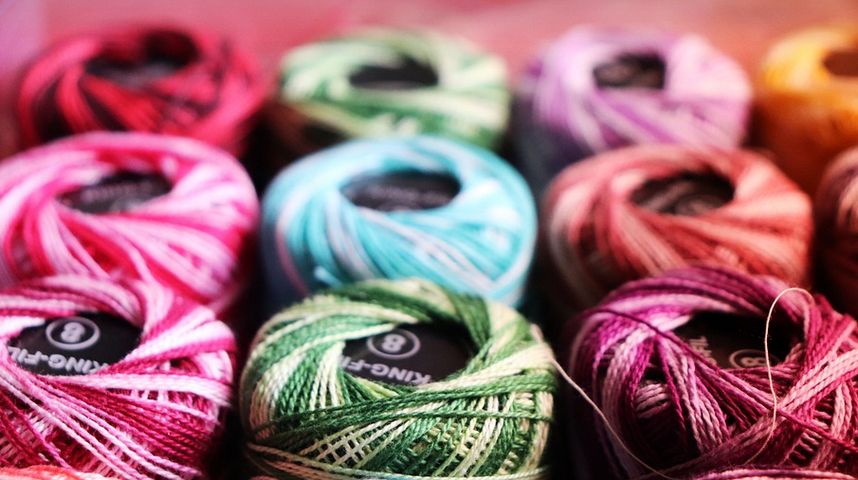
Secondly, sewing allows for creative freedom in terms of fabric choice. Experiment with different textures and weights, such as cozy wool blends or luxurious cashmere. Mix up the colors to craft an outfit that truly reflects your personality. You can even add unique details like embellishments or pockets for a personal touch.
Finally, the joy of creating something from scratch is unmatched. Witnessing your creation take shape gives you a sense of accomplishment and boosts confidence in your sewing skills. Plus, it’s an opportunity to learn new techniques while mastering a timeless garment that will be a wardrobe staple for years to come.
Where to Find Free Turtleneck Sewing Patterns
The internet is teeming with free turtleneck patterns! You can find countless options online by searching “free turtleneck sewing pattern” on websites like Etsy, Ravelry, and Pinterest. These platforms host a diverse range of patterns catering to different skill levels and personal styles.
Many independent designers offer free patterns in exchange for feedback or shares. This allows you to support talented creators while gaining access to unique designs and innovative patterns. Some websites even provide guides with step-by-step instructions, video tutorials, and helpful tips for beginners who are just starting their sewing journey.
A Step by Step Guide to Sewing your Turtleneck
Once you’ve selected a free pattern of your choice, it’s time to embark on this exciting sewing adventure! A well-structured guide will lay the foundation for success. The following steps can serve as your roadmap:
- Gather your materials: This includes fabric, thread, needles, scissors, measuring tape, pins, buttons or closures, and a sewing machine (optional).
- Choose the right fabric: Consider factors like warmth, durability, and texture. A variety of fabrics are available, such as wool, jersey, corduroy, and even silk blends.
- Measure yourself: Accurate measurements are crucial to ensure a perfect fit. Refer to the pattern instructions for guidelines on how to take accurate body measurements.
- Prepare the fabric: Pre-wash and iron your chosen fabric before starting work to prevent shrinkage or discoloration later.
- Cut out the pieces: Carefully follow the pattern’s markings and cut out all the fabric pieces according to the instructions.
Adding a Personal Touch
Now that you’ve got your basic turtleneck ready, it’s time for personal touches! This is where creativity truly shines. Injecting personality into your final product will make it unique and reflect your individual style.
Consider adding embellishments like buttons or a decorative stitch along the neckline. Experiment with different textures and prints to play around with visual interest. You can even add hidden pockets for functionality and practicality.
The Finishing Touches
Once your turtleneck is complete, it’s time for those final touches to make it shine. Start by applying buttons or closures if needed. If you’ve chosen a knit fabric, use a simple straight stitch or zig-zag stitch on the neckline and sleeves to prevent fraying.
For those who crave more intricate details, consider adding embellishments like embroidery or beaded detailing. These additions not only enhance the aesthetic appeal but also contribute to your turtleneck’s unique character. Remember, this is your chance to express yourself through sewing!
Enjoy Your New Turtleneck!
Congratulations on completing your free turtleneck pattern! Sit back and admire your handiwork while anticipating those cozy fall nights ahead. You’ve not only saved money but also created a personal and stylish wardrobe staple that will keep you warm, comfortable, and confident all season long.