Skip the Needles, Embrace the Creativity!
Hey there, fellow parents and crafters! Getting your little one ready for photo shoots or just a cute everyday outfit can be stressful, especially when it comes to their headwear. But fret no more, because we’re diving into the world of no-sew baby headbands! These creations are not only adorable but also incredibly easy to put together, even if you’re a sewing novice.
Why Choose a No-Sew Headband?
There are numerous reasons why opting for a no-sew headband might be your best bet. Firstly, it’s a fantastic way to start your creative journey with crafting without the stress of learning new skills. Secondly, these headbands offer a sense of personal touch and unique style that can’t be found in mass-produced pieces. Lastly, they are incredibly versatile! These headbands can be used for various occasions: from casual outings to photo sessions or even themed parties.
Materials You’ll Need
Here’s a list of the essentials you’ll need for your no-sew headband adventure:
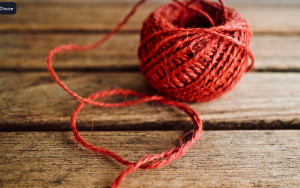
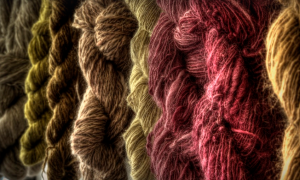
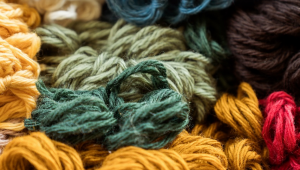
- Fabric: Choose soft and breathable fabrics like cotton, jersey, felt, or other kid-friendly materials.
- Headband Base:** Depending on how elaborate you want to get, a simple elastic band will do the trick. Alternatively, consider using an old headband as a base.
- Scissors**: Essential for clean cuts and trimming excess fabric.
- Pins or Clips**: Useful for securing the fabric pieces without needing to sew.
- Embroidery floss (optional): If you want a more decorative touch, add some embroidery detail.
Getting Started: The No-Sew Process
Let’s dive into the steps that make crafting a no-sew headband a breeze:
- Step 1: Prepare Your Fabric:** Cut two identical fabric strips for your headband. The length of these pieces depends on your child’s head size and preference. For babies, smaller lengths (e.g., 6-8 inches) are ideal.
Continue reading the rest of the article here!
Remember to include pictures or visual aids to illustrate each step!