Crafting a Comfy, Flattering Camisole
In the world of fashion, there’s something undeniably satisfying about crafting your own clothing. And when it comes to versatile and comfortable staples like camisole tops, taking that DIY approach can yield amazing results. Whether you’re aiming for a chic beach cover-up or a daily wear piece that effortlessly blends into any outfit, learning how to sew a camisole top is an empowering skill you can carry throughout your sewing journey.
This guide will walk you through the steps of creating a relaxed and elegant camisole top. We’ll navigate the world of patterns, explore different techniques, and even discuss some design tips to ensure your finished product is as unique as you are. So, grab your needles, thread, and sewing machine, and let’s begin!
**Choosing Your Pattern: The Foundation of Your Project**
The first step in any successful sewing project is choosing the perfect pattern. A well-designed pattern will create the foundation for a beautiful and functional camisole top. For beginners, there are numerous easy-to-follow patterns that provide a clear outline to follow. These patterns often include basic construction techniques like gathering, bias binding, and stitching buttons, all of which serve as valuable learning experiences.
When selecting a pattern, consider your skill level and comfort with different sewing techniques. Look for patterns that offer detailed instructions with illustrations or diagrams. A good pattern should also allow you to customize the fit and style according to your preferences. It might be tempting to dive into the world of intricate designs right away, but starting small and building up your confidence is key.
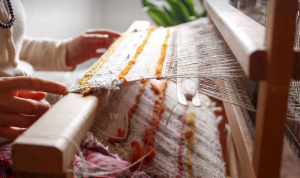
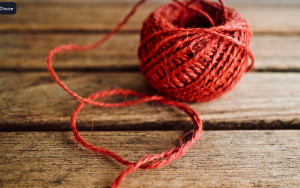
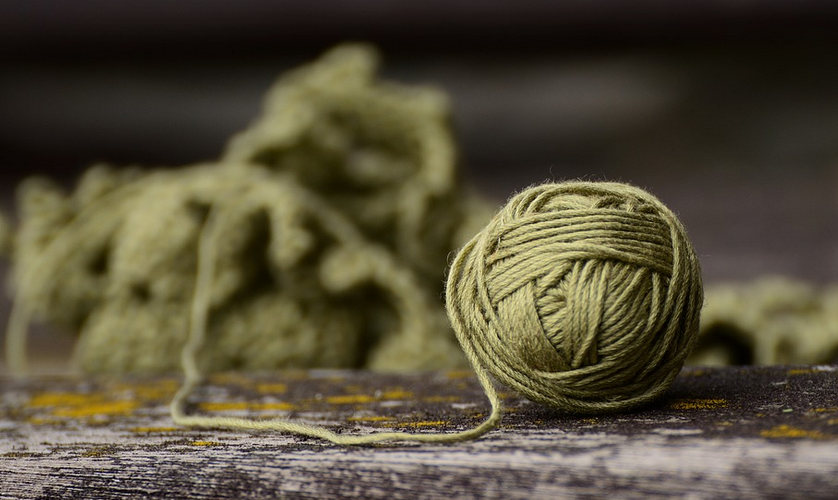
**Fabric Selection: The Magic Touch**
Fabric plays a crucial role in determining the overall look and feel of your camisole top. For beginners, choosing a lightweight fabric like cotton or silk blends might be the best option as these are easier to work with and provide a more comfortable finish. These fabrics drape well and offer a soft touch against the skin.
When selecting your fabric, consider both its weight and drape. You want something that drapes beautifully but doesn’t feel too heavy or stiff. Explore different textures and patterns to find a match that suits your taste. Don’t be afraid to experiment with materials like linen for a more casual and textured look.
**Pattern Preparation: Getting Ready to Sew**
Before you begin sewing, it’s essential to understand the pattern layout. Familiarize yourself with the individual pieces as well as their corresponding fabric requirements. The pattern will often include detailed instructions on how to cut out your fabric and assemble it into a complete top.
Take some time to read through the entire pattern guide before you start cutting your fabric. It’s best to understand the key steps, measurements, and all the necessary details. Remember, accuracy is crucial for achieving a seamless camisole top!
**Sewing Your Camisole Top: A Step-by-Step Guide**
Now that you’ve prepared your pattern and fabric, it’s time to put your sewing skills to the test! Let’s break down the process into manageable steps. Begin by preparing the edges of your chosen fabric as suggested in the pattern.
**1. Cutting: The Foundation of Your Project**
The first step is cutting out all of the pieces according to the measurements provided in your pattern. This sounds simple, but take your time and double-check each piece to ensure accuracy.
**2. Assembling: Creating the Structure**
Next, you’ll assemble the main body of your camisole top by joining the front and back pieces together as per the pattern instructions. This might include sewing seams, attaching straps or necklines, and creating any necessary finishing touches.
**3. Hemming: The Finishing Touches**
Once your main structure is complete, you’ll move on to applying hems for a polished look and feel. Carefully hem the edges of your camisole top using techniques like blind hemming or double-fold hemming, depending on your preference.
**4. Adding Features: Your Personal Touch**
This is where you can add extra flair to your camisole top! Include things like necklines, straps, embellishments, and buttons for a more personalized style. Customize the design according to your preferred look for a unique piece.
**5. Pressing: The Final Touch**
The final step in the process is pressing all of the seams to ensure a smooth and professional finish. Use an iron at high heat or steam from a steamer to flatten any wrinkles and creases that may have formed during assembly. This will create a more defined look.
**Maintaining Your Camisole Top: A Guide to Longevity**
Once you’ve finished sewing your camisole top, it’s time to take care of it! Proper garment care is key for ensuring longevity and maintaining the overall quality of your clothing. Always check the care instructions on your fabric label. Generally speaking, washing and drying your camisole top on a gentle cycle with cold water can keep it looking its best.